Applicable to all 2Sense Music Systems.
All 2Sense Music Systems uses our WireConnect technology. The speakers are driven by their own built in amplifier.
The active WireConnect speakers require the WireConnect HUB to function.
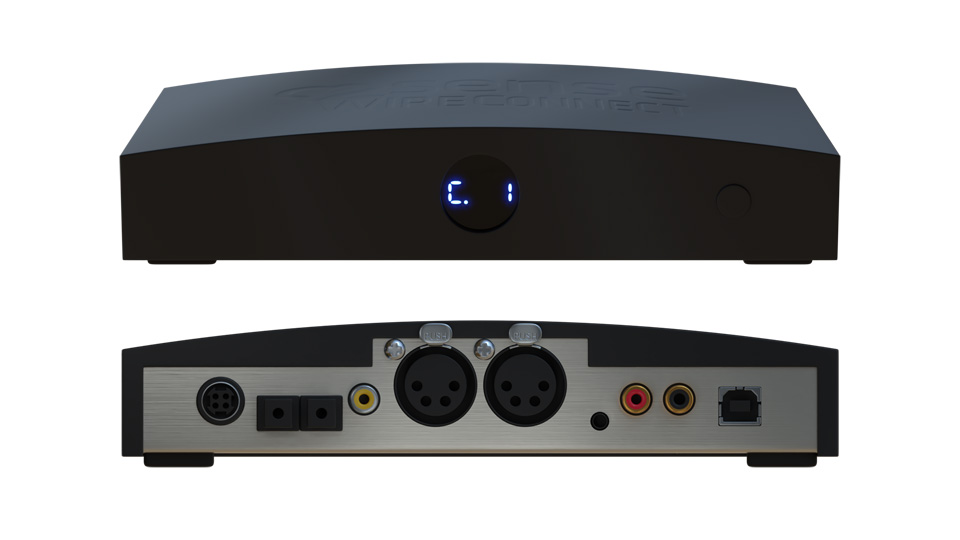
The Hub is the central part of the system, which is where you will connect the mains input, along with your sources and speaker outputs.
Included in the box.
2Sense Music Systems include 2 x Active Speakers, 1 x Control HUB, 1 x Remote Control, 2 x WireConnect cables, 1 x PSU (Power Supply Unit) incl. Mains Cable.
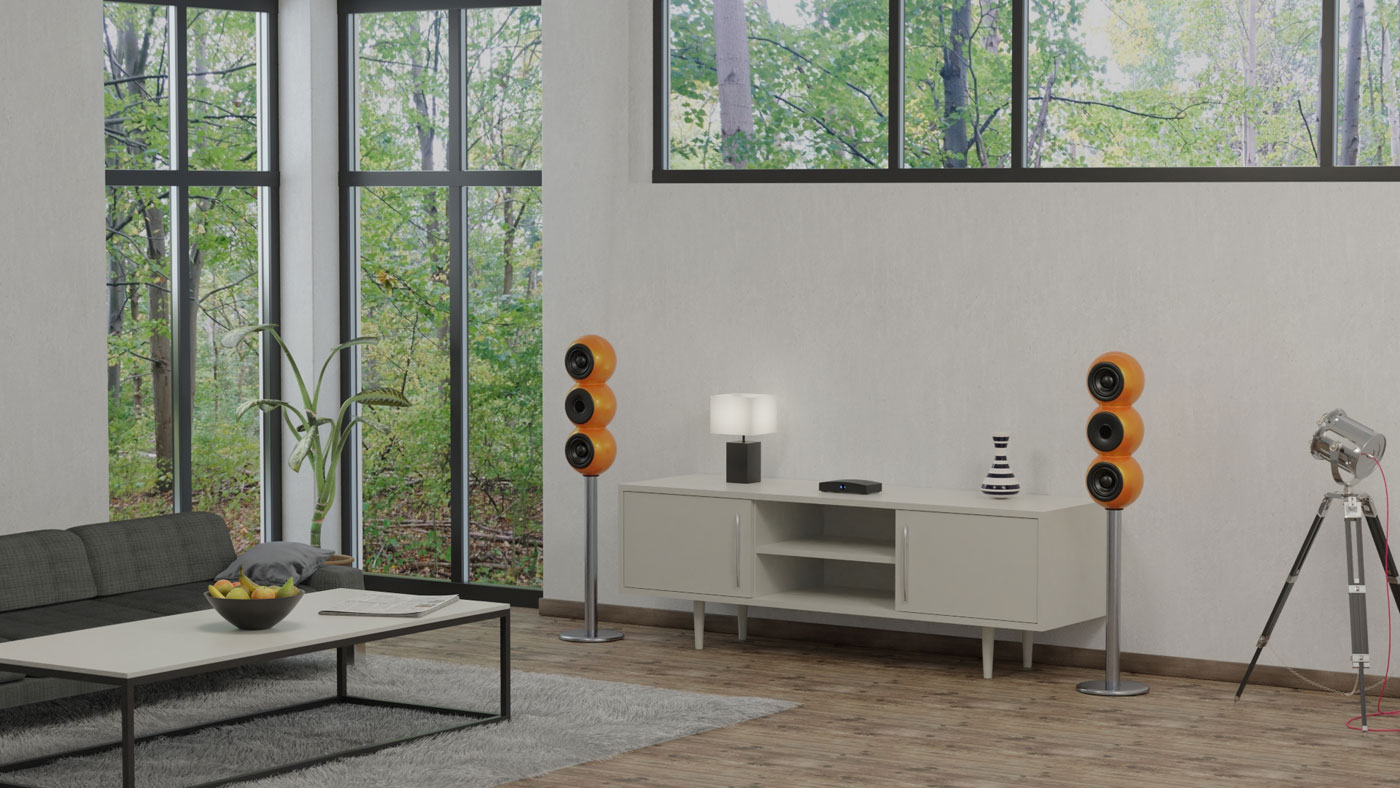
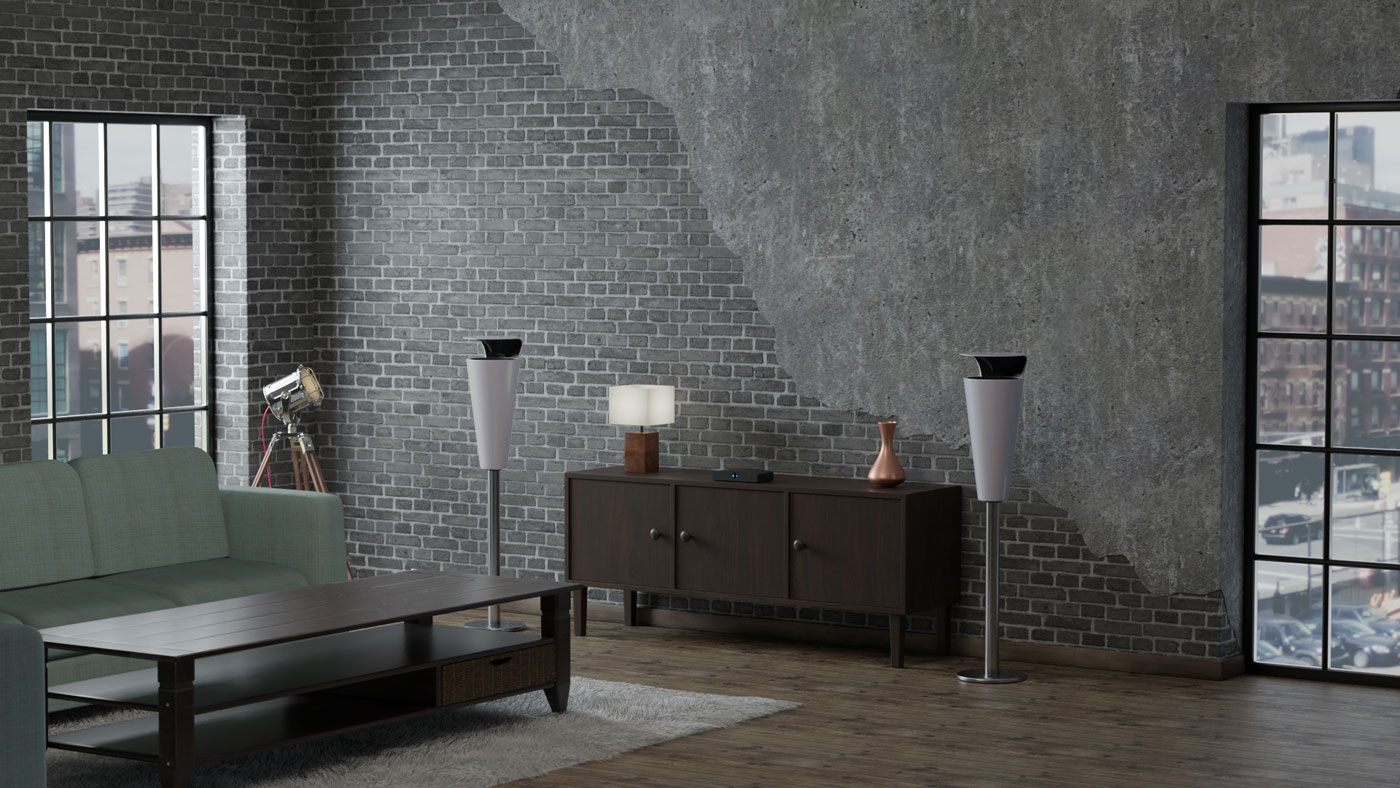
Pearls and Cone systems also include 2 x 2Sense Stands which are delivered in a separate box.
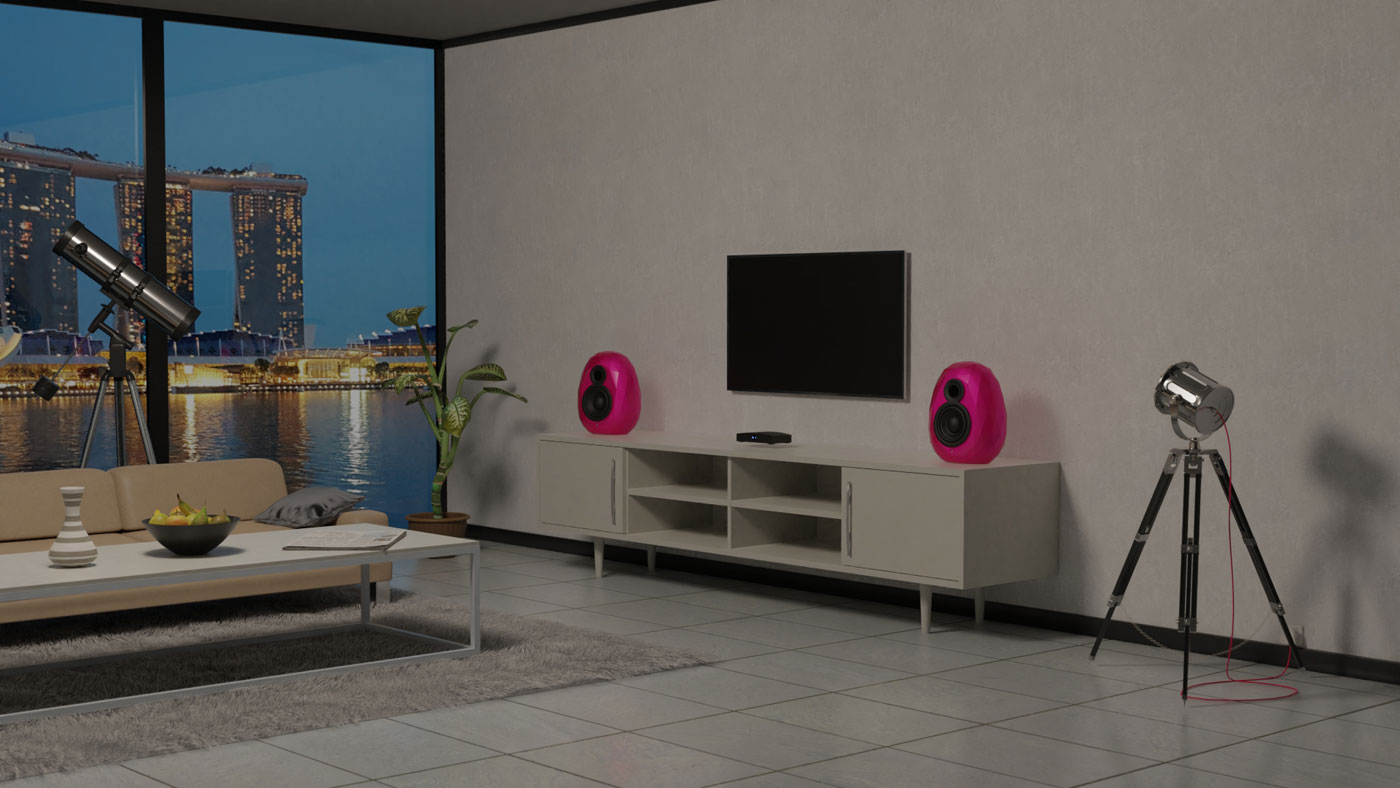
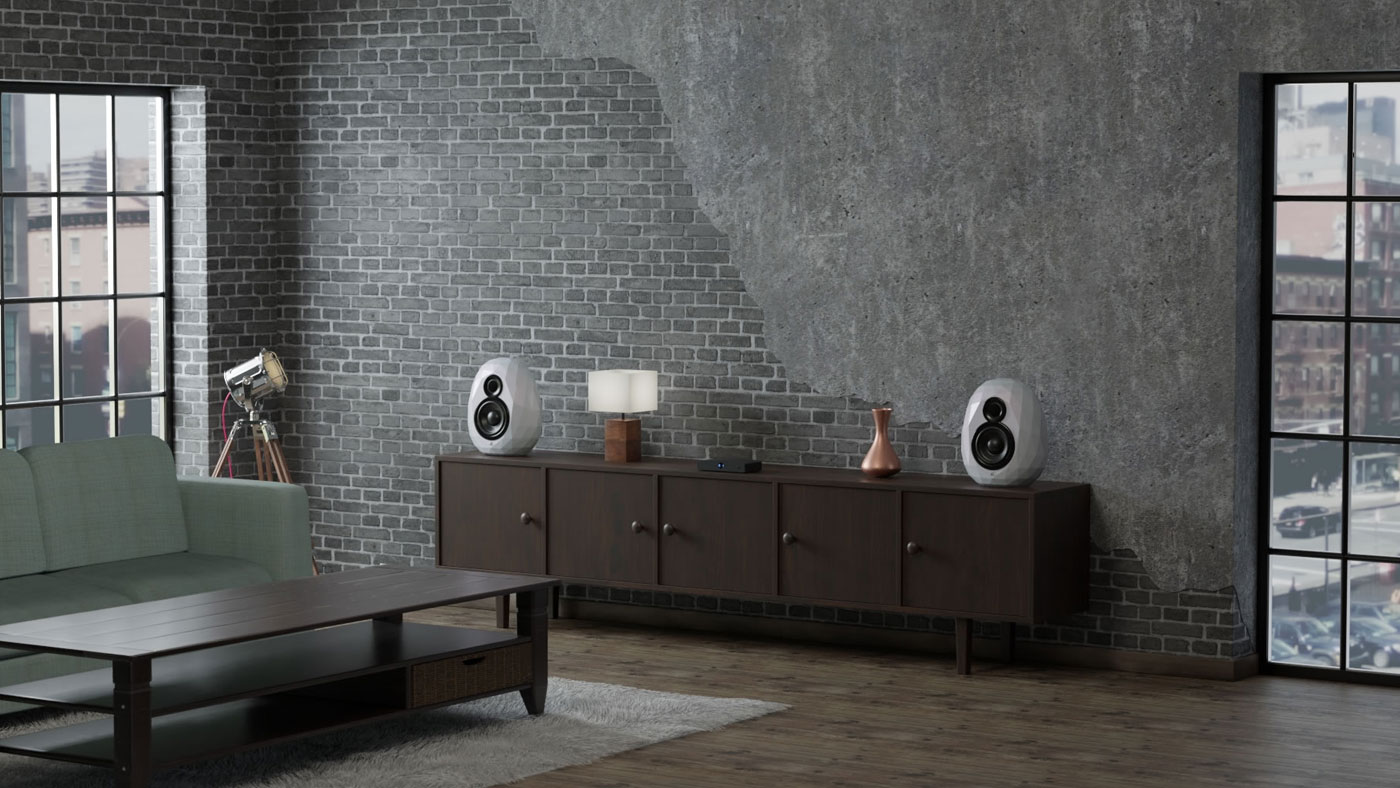
Diamond systems do not include a stand as we have designed Diamond to be a placed on a shelf or a low wall where available. However, by popular demand we have designed a plate which will allow Diamond to be mounted on a Norstone S2 stand. (click for link to Norstone S2).
A good and solid stand which will be available from your audio dealer.
2Sense Pearls & Cone Music Systems
Unpack and set up.
We have endeavored to simplify the set up of the 2Sense Music Systems. In fact all you have to pay particular attention to is to place right and left speaker correctly (look for the R & L labels on the speaker).
Unpack your 2Sense Music System
When you open the box, you will be met by the before mentioned parts.
Connect the speakers
The 2 included speakers, are ment to play right and left channel, for at perfect stereo setup.
Check that you have the speaker labeled “R” on the right side, and the speaker labeled “L” on the left side.
On the Cone and Pearls system, the cable has to be fed through the bottom of the stand, and up into the bottom of the speaker.
The speaker cables are connected to the Hub, accordingly right and left.
NOTE: – If the Wireconnect cable needs to be disconnected, it is locked to the speaker. Gently press the metal part on the plug, while slowly retracting the cable.
Connect the HUB
Connect the included powersupply to the Hub, ensuring that the flat side of the cable is facing upwards.
Before connecting your Hub, you should check that it turns on properly. If “C1” shows up on the display, the system is running correctly. Now turn it off again, before continuing.
Connect your sources
By using either USB, Coax, Analog or Toslink (optical), your favourite sources can now be connected.
By using the right or left side on the remote, you can switch between sources. Up and down changes the volume. The system is turned on or off, with the “play” button.
C1 – Coax
C2 – Optical 1
C3 – Optical 2
C4 – Analog
C5 – USB
The HUB
The Music System is controlled by the 2Sense Control Hub, which you can read more about Here.
Important!
Please note, that the system may NEVER be used with any other powersupply, than the included one.
The WireConnect cables
The supplied WireConnect cables are mounted with solid connectors. Male connector (4 pins) in one end and Female connector at the other end.
The Male connector goes into the Hub and the Female connector goes into the 2Sense speaker.
2Sense Diamond Music System
Unpack and setup
Unpack your 2Sense Music System
When you open the box, you will be met by the before mentioned parts.
Connect the speakers
The 2 included speakers are ment to play right and left channel, for a perfect stereo setup.
Please check that you have the speaker labeled “R” on the right side, and the speaker labeled “L” on the left side.
The speakers should now be connected to The Hub with the included Wireconnect cables, accordingly right and left.
NOTE: – If the Wireconnect cable needs to be disconnected, it is locked to the speaker. Gently press the metal part on the plug, while slowly retracting the cable.
Connect the HUB
Connect the included powersupply to the Hub, ensuring that the flat side of the cable is facing upwards.
Before connecting your Hub, you should check that it turns on properly. If “C1” shows up on the display, the system is running correctly. Now turn it off again, before continuing.
Connect your sources
By using either USB, Coax, Analog or Toslink (optical), your favourite sources can now be connected.
By using the right or left side on the remote, you can switch between sources. Up and down changes the volume. The system is turned on or off, with the “play” button.
C1 – Coax
C2 – Optical 1
C3 – Optical 2
C4 – Analog
C5 – USB
Put the Hub in Off-mode before you connect input sources. Turn on again after making the connections.
Subwoofer connection
If you want to connect a subwoofer for more bass, it can be connected to the minijack port on the Hub. The Hub activates the 80Hz crossover immediately, and goes back to normal mode if the subwoofer is disconnected from The Hub.
The HUB
The Music System is controlled by the 2Sense Control Hub, which you can read more about Here.
Important!
Please note, that the system may NEVER be used with any other powersupply, than the included one.
The WireConnect cables
The supplied WireConnect cables are mounted with solid connectors. Male connector (4 pins) in one end and Female connector at the other end.
The Male connector goes into the Hub and the Female connector goes into the 2Sense speaker.

